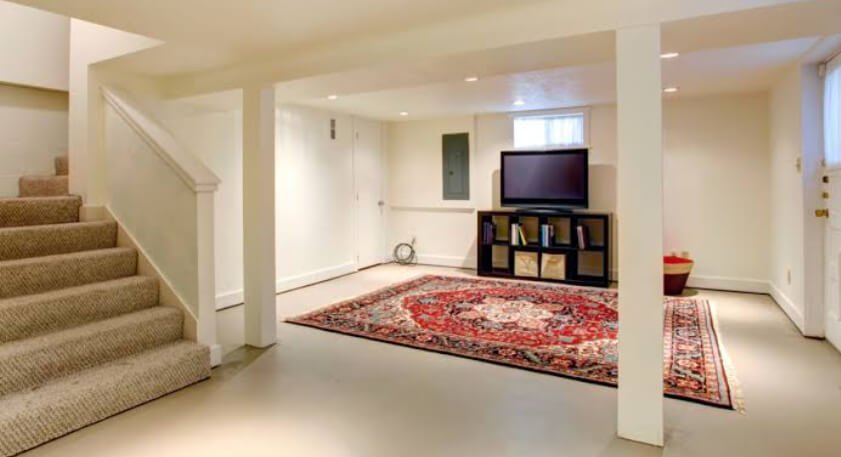
Many homeowners look downstairs and see unfinished concrete, exposed utilities, and storage boxes. Yet that same area may offer opportunities for additional living space. When homeowners decide to finish basement areas, approaching the project in the correct sequence can make construction more organized and reduce avoidable complications.
The process begins long before decorative finishes are installed. A dependable result requires assessment, planning, mechanical coordination, insulation, construction, and finishing work in a logical order.
Step 1: Inspect Before Designing
Start with the existing condition of the basement.
Look for moisture, foundation concerns, unusual smells, visible water damage, and other signs that the space may require attention. Examine windows, stairs, utilities, ductwork, electrical equipment, and plumbing.
Homeowners eager to finish basement spaces sometimes jump directly into design choices. However, resolving existing concerns first protects the work that follows.
Step 2: Decide What the Basement Needs to Do
Create a practical wish list.
Perhaps the household needs a family room and home office. Another property may benefit from a guest bedroom, hobby space, playroom, or exercise area.
Rank these needs instead of trying to include everything. Clear priorities produce better layouts.
Step 3: Develop a Functional Floor Plan
Once the purpose is established, divide the available area logically.
Place rooms according to available windows, ceiling conditions, utilities, privacy requirements, and circulation. Keep mechanical equipment accessible and avoid creating narrow, uncomfortable pathways.
When planning to finish basement areas, furniture dimensions should also be considered. A room can appear large on a drawing but feel crowded once sofas, desks, beds, and storage units are added.
Step 4: Coordinate Building Systems
Plan electrical, plumbing, ventilation, heating, and other mechanical components before walls and ceilings are closed.
Think about outlet locations, lighting switches, entertainment equipment, internet connections, bathroom plumbing, and future appliances.
A local basement renovation specialist can help homeowners understand how different construction stages need to coordinate.
Step 5: Address Insulation and Comfort
A basement should not merely look finished. It should feel comfortable.
Insulation helps control temperature and can contribute to energy performance. Sound-management measures may also be useful, particularly when bedrooms, entertainment rooms, or offices are located downstairs.
These hidden elements become difficult to modify once surfaces are complete.
Step 6: Install Durable Interior Finishes
After rough construction is completed, the visual transformation becomes more noticeable.
Walls, ceilings, flooring, trim, doors, cabinetry, and other finishes establish the character of the basement. Choose materials suitable for below-grade conditions and expected traffic.
Families with children or pets may prioritize easy maintenance and durability.
Step 7: Add Lighting Strategically
Basements often require more artificial illumination than rooms above grade.
Rather than relying on a few bright fixtures, distribute lighting across the space. Combine general, task, and accent lighting to create depth and flexibility.
This approach is particularly effective in multifunctional basements where different areas serve different purposes.
Step 8: Complete the Details
The final stage includes trim work, hardware, paint touch-ups, fixture installation, and other details that give rooms a complete appearance.
Do not rush this stage. Small inconsistencies can become surprisingly noticeable in an otherwise polished room.
See also: The Benefits of a Pest Control Subscription for Homeowners
Conclusion
Homeowners who want to finish basement areas successfully should treat the project as a sequence rather than a collection of decorative upgrades. Starting with inspection and progressing through planning, mechanical work, insulation, finishes, and lighting creates a more dependable result. Careful preparation can transform an unfinished lower level into comfortable space that supports everyday household needs.